Cook #3, was a recipe from the big green egg website: Beer Butt Chicked (found here:http://www.biggreenegg.com/recipes/beer-butt-chicken/). I won't go into details since the recipe is readily available. I will say that I've read you are supposed to use a "lager" beer & I chose to use Budweiser (side note: I don't care for Budweiser as a beer for drinking but it seemed to work well for the cook), I also used the accessory the "sittin' chicken" to roast my chicken (see below). I will say that I used "Grillmasters Dry Rub" from www.kitchenwindow.com (a local store here in Minneapolis, also where I purchased my egg from) as my seasoning. I also used a smaller chicked (about 2-3 lbs).
Coals: I used about 75 % new & 25 % previously burned charcoal filled to the top of the firebox. Again, I lit a single starter cube in the center of the lump. After about 10 minutes the cube was out and we were ready for business. Learning from my previous cook, this time I added the plate setter immediately, the grate & closed the lid and was ready to dial in my temperature. I started by closing the bottom sash to 1/2" and keeping the daisy wheel slot fully open. This dropped the temp far more than I was expecting it to. Shortly there after, I opened the bottom to 7/8" & then eventually to 1" with the daisy wheel 50 % which seemed to hold 350 F very well. After pre-heating for about 10 minutes, it was ready for the chicken & potatoes.
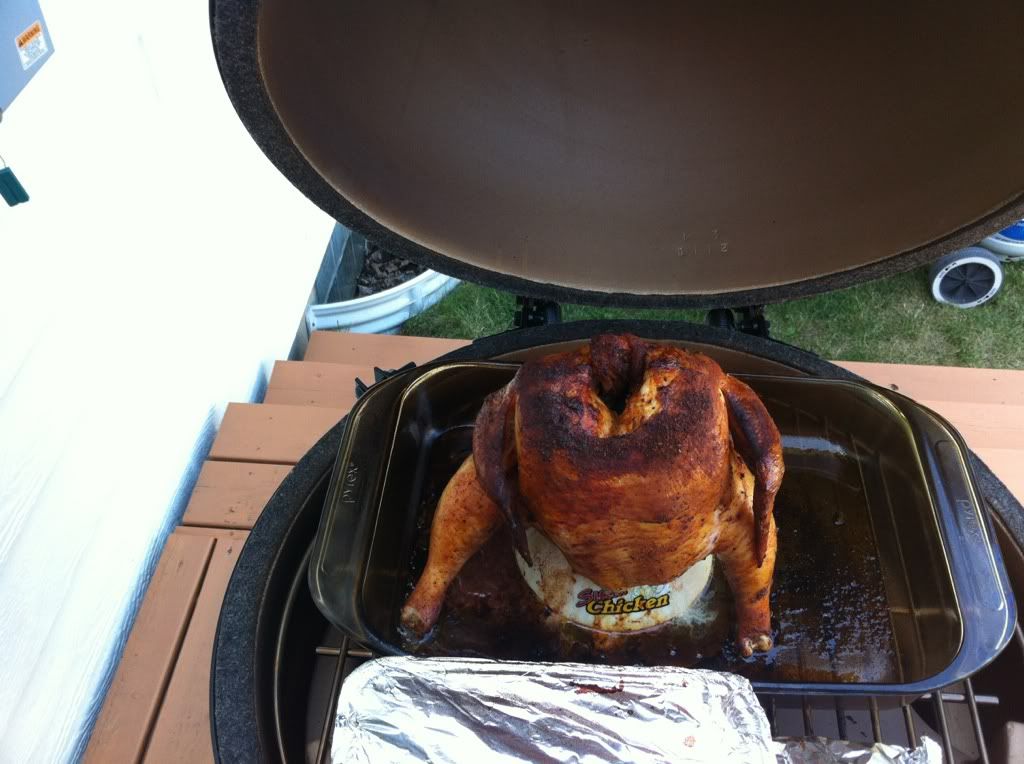
The Cook: On the bird went, after 20 minutes I would open the lid and spray with the liquid mixture. I also started the timer after the temp reached back to 350 F, after opening & then closing the lid. It should be noted that this required me to open the daisy wheel to 100 % after I closed the lid. Adding a large piece of meat drops the temp as would be expected. I continued with spray, every 20 minutes for about a total time of 1 hr 10 minutes. The final product is below. The chicken was tender w/ a great flavor. Some bbq sauce was added and made for the perfect compliment. I wish the flavor had penetrated the bird more but it was definitely tasty & I would make it again.
Final Settings:
Charcoal: 75 % new / 25 % previously burned, 1 starter cube, center of lump
Plate Setter: legs up w/ grate on top
Bottom Sash: 1"
Daisy Wheel: 50 %

 Again, about 10 minutes after lighting the cube was out to give a few lit coals and the grate was added and the lid closed.
 The temperature seemed to be a little more particular without the place setter. It seemed to be little harder to really dial in the temperature. I settled on 1 5/8" for the bottom, with the daisy wheel open to 100 %. Once the egg was pre-heated (about 5 minutes) I added the burgers. It took a little bit longer to get back to above 400 and eventually I settled on 410 F as the temp. Cooking roughly 6 minutes per side for a total of 12 minutes give or take to give the final product below. The turkey burgers were a little dry for my liking but I think that is just the nature of the meat & the fact that it's 93/7 lean. I'm used to using 80/20 ground beef when I make burgers. These were tasty & I would make them again. Although, I would use less water when making the patties. We'll be doing pizzas tomorrow so stay tuned...
 Final Settings:
Charcoal: 60/40 New/Previously burned
Plate Setter: None
Bottom Sash: 1 5/8"
Daisy Wheel: Fully Open
Final Settings:
Charcoal: 60/40 New/Previously burned
Plate Setter: None
Bottom Sash: 1 5/8"
Daisy Wheel: Fully Open


